Getting started
Installation & Configuration
Learn how to install your charger.
or read a short over view..
- Find a location with power rating as per your charger
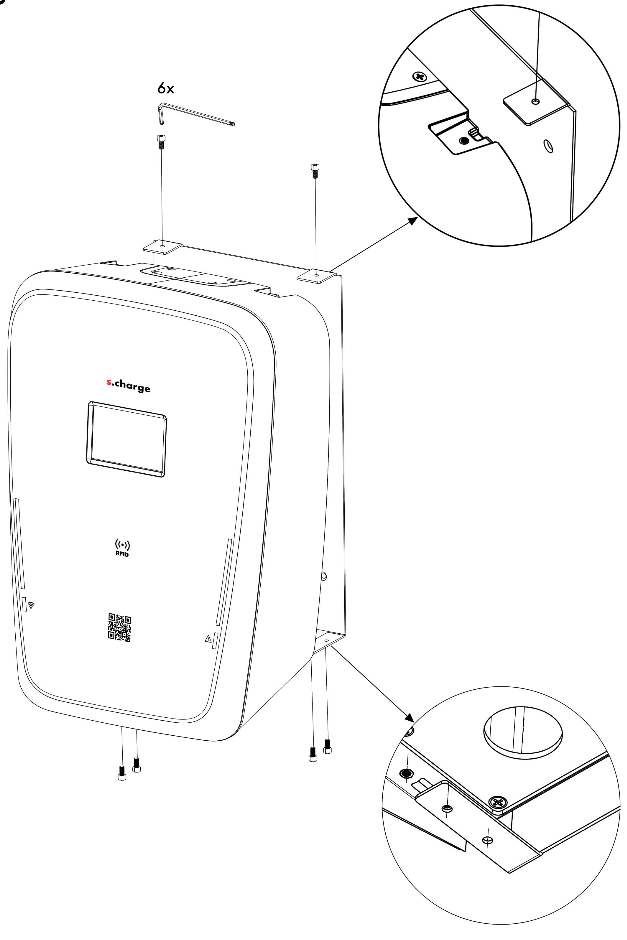
- Use the drilling template provided to drill holes on the wall and install the EasyMount template
- Install & Power-up the A1 Type 2 EV Charger. Now your charger is ready to be configured
- Download the SCharge app by scanning the QR code on the A1 Type 2 EV Charger
- Switch on your Bluetooth on your phone & configure the A1 Type 2 EV Charger by adding the powered-on device from the Add Device menu and follow the guided configuration process
- Ensure you update your A1 Type 2 EV Charger to its latest firmware
- Configure the RFID tags provided with the A1 Type 2 EV Charger via the app
- Congratulations! Now you are ready to use the A1 Type 2 EV Charger
Getting started
Learn how to get your charger ready for your first use.
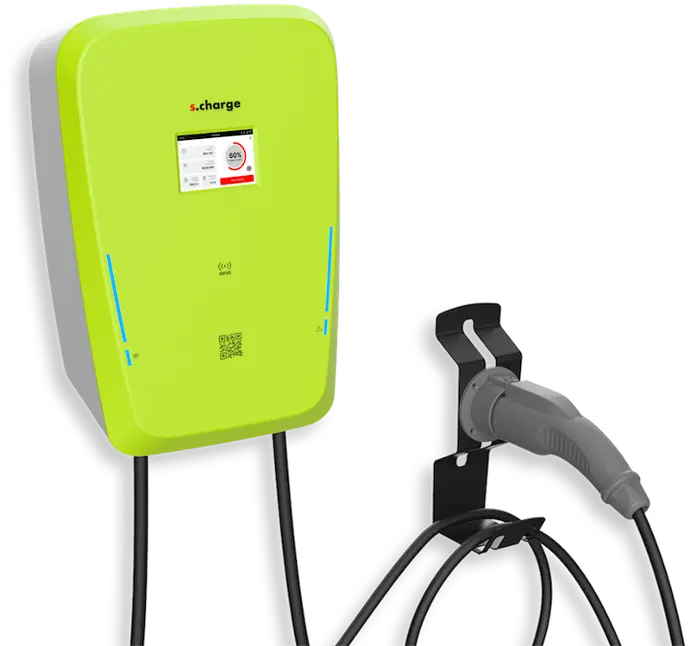
In the box
- A1 Type 2 EV Charger
- EasyMount Wall Bracket
- EasyMount Gun Holder
- Drilling Template
- Screws & Allen key
- One Time Setup PIN (8 Digit)
- 2 nos of SC RFID Keychain
User manual
User manual for use of your A1 Type 2 EV Charger explaining the features and user interaction functionality.
Coming soon...
Still need support
Reach us and let us help you.